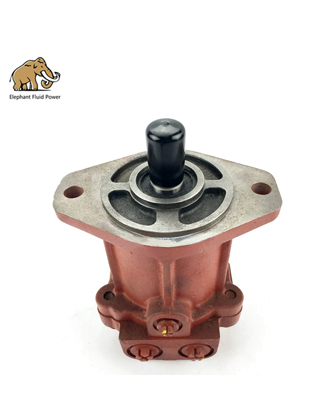
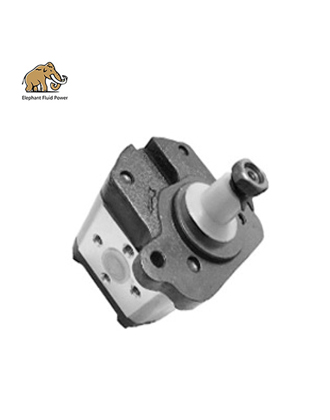
Rebuilding a hydraulic pump can save significant costs compared to replacement. Follow this professional guide to ensure proper disassembly, inspection, and reassembly.
Tools & Materials Needed
Basic Tools Wrenches, screwdrivers, torque wrench
Specialty Tools Bearing puller, hydraulic press (for stubborn parts)
Cleaning Supplies Solvent, lint-free rags, ultrasonic cleaner (optional)
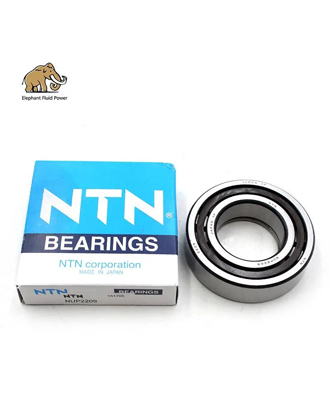
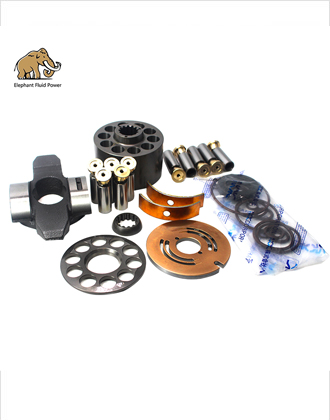
Replacement Parts Seal kit, pistons, bearings (OEM or high-quality aftermarket)
Lubricants Hydraulic assembly grease, clean hydraulic oil
Step 1 Pre-Rebuild Checks
Identify Pump Model (e.g., Kawasaki K3V, Rexroth A10VO)
Check Symptoms (low pressure, noise, leaks) to anticipate needed parts.
Order a Rebuild Kit (seals, O-rings, gaskets, wear parts).
Drain Hydraulic Oil and inspect for metal debris (indicates severe wear).
Step 2 Disassembly
A. Remove the Pump from the Excavator
Disconnect hydraulic lines (label them for reassembly).
Unbolt the pump from the enginemounting plate.
B. Teardown the Pump
Remove the Housing Bolts – Keep track of bolt lengthslocations.
Separate the Housing – Gently pry apart (avoid damaging sealing surfaces).
Extract the Rotating Group (cylinder block, pistons, swashplate).
Inspect & Document Wear – Take photos to aid reassembly.
Step 3 Inspection & Cleaning
Critical Parts to Check
Component Inspection Criteria Action if Failed
Pistons Scoring, pitting Replace entire set
Cylinder Block Port wear, scratches Resurface or replace
Swashplate Grooves, uneven surface Polish or replace
Bearings Rough rotation, play Replace
Seals & O-rings Cracks, hardness Always replace
Clean All Parts – Use solvent + compressed air (ensure no debris remains).
Step 4 Reassembly
A. Rebuild the Rotating Group
Install New Bearings (press-fit with proper alignment).
Lubricate Pistons & Slippers – Use hydraulic assembly grease.
Reassemble Cylinder Block – Ensure pistons move freely.
B. Reinstall Control Components
Replace All Seals & O-rings (never reuse old ones).
Reattach Swashplate – Check tilt mechanism for smooth operation.
Secure Housing – Torque bolts to spec (avoid overtightening).
Step 5 Post-Rebuild Testing
Prime the Pump – Fill with clean hydraulic oil before startup.
Check for Leaks – Run at low pressure first.
Test Pressure & Flow – Use gauges to verify performance.
Monitor Noise & Heat – Abnormal sounds indicate misassembly.
Common Rebuild Mistakes to Avoid
Reusing old seals → Guaranteed leaks.
Improper bearing installation → Causes premature failure.
Overlooking port plate wear → Leads to internal leakage.
Dry starting the pump → Damages seals instantly.
When to Rebuild vs. Replace
Rebuild Replace
Minor wear (seals, pistons OK) Severe damage (cracked housing)
Cost 50% of new pump Rebuilds failing repeatedly
Pump model still supported Obsoleteno parts available
Pro Tips for Longevity
Use OEM-quality rebuild kits – Cheap parts fail faster.
Flush hydraulic system after rebuild (remove contaminants).
Monitor fluid temperature – Overheating kills pumps.
Need Help?
www.heavyequipmentmaintain.com
Provide your pump model and symptoms, and I’ll guide you through troubleshooting!
 French
 Portuguese
 Russian
 German
 Spanish
 Japanese
 Korean
 Irish
Irish
 Greek
Greek
 Turkish
 Italian
 Danish
 Romanian
 Indonesian
 Czech
Czech
 Afrikaans
 Swedish
 Polish
 Basque
 Catalan
 Esperanto
 Hindi
Hindi
 Lao
Lao
 Albanian
 Amharic
 Armenian
 Azerbaijani
 Belarusian
 Bengali
 Bosnian
 Bulgarian
 Cebuano
 Chichewa
 Corsican
 Croatian
 Dutch
Dutch
 Estonian
 Filipino
 Finnish
 Frisian
 Galician
 Georgian
 Gujarati
 Haitian
 Hausa
Hausa
 Hawaiian
 Hebrew
 Hmong
Hmong
 Hungarian
 Icelandic
 Igbo
Igbo
 Javanese
 Kannada
 Kazakh
 Khmer
Khmer
 Kurdish
 Kyrgyz
 Latin
Latin
 Latvian
 Lithuanian
 Luxembourg
 Macedoniar
 Malagasy
 Malay
Malay
 Malayalam
 Maltese
 Maori
Maori
 Marathi
 Mongolian
 Burmese
 Nepali
 Norwegian
 Pashto
 Persian
 Punjabi
 Serbian
 Sesotho
 Sinhala
 Slovak
 Slovenian
 Somali
 Samoan
 Scots Gaelic
 Shona
Shona
 Sindhi
 Sundanese
 Swahili
 Tajik
Tajik
 Tamil
Tamil
 Telugu
 Thai
Thai
 Ukrainian
 Urdu
Urdu
 Uzbek
Uzbek
 Vietnamese
 Welsh
Welsh
 Xhosa
Xhosa
 Yiddish
 Yoruba
 Zulu
Zulu

